Hi Community!
While reviewing available electronic components, the idea arose to build a high-power rechargeable lamp for my workbench, taking advantage of the opportunity to practice 3D design with newly acquired ABS filament. The lamp uses a high-power LED strip salvaged from another device, requiring 12V power supply and consuming 120mA. Since I don't know the specific model, I'll include alternatives in the materials list.
Project Research
Research was brief as I prioritized available components instead of new acquisitions. While this approach may not be the most efficient, it worked satisfactorily and allowed me to apply engineering skills to solve limitations.
Materials
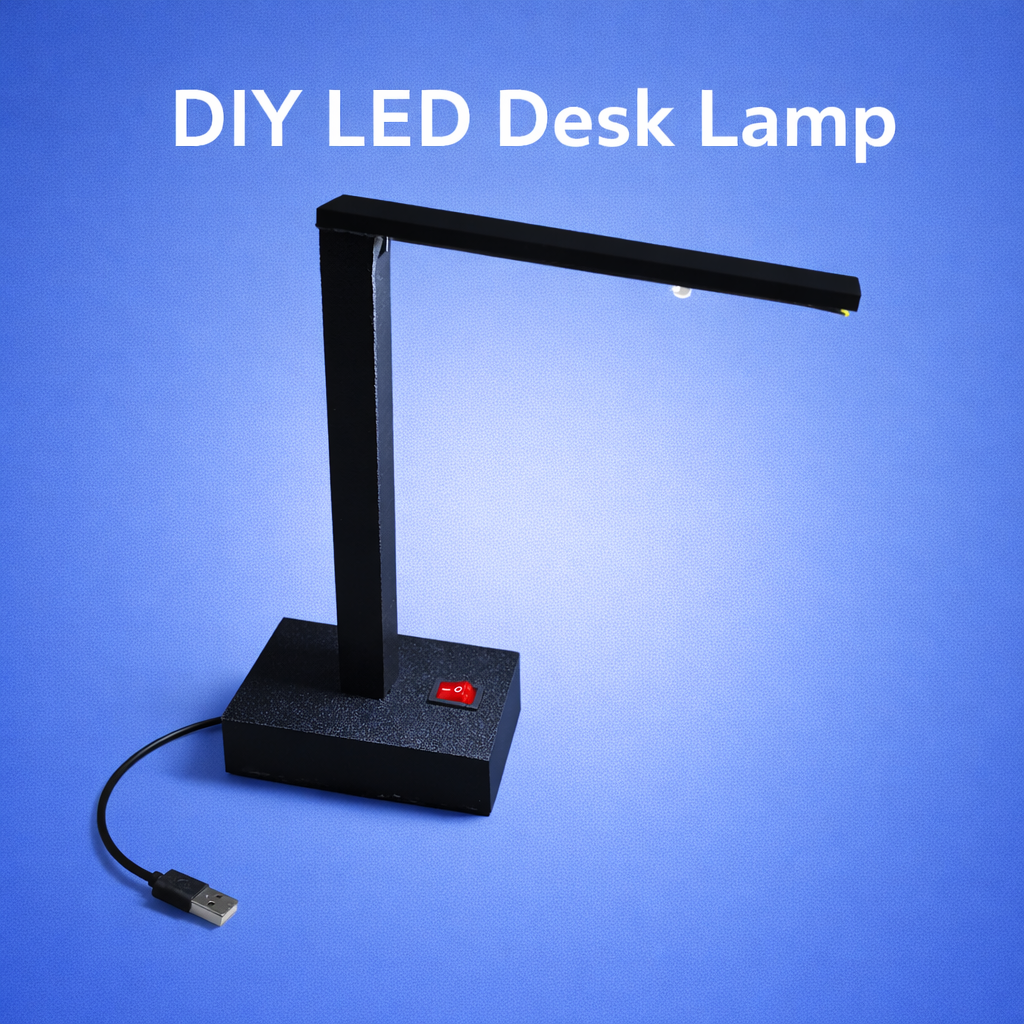
- • 12V 6W COB White LED
- • Lithium Polymer Battery 3.7V 2000mAh
- • Buck-Boost Converter Module
- • Lithium Battery Charger Module
- • On/Off Switch
- • ABS Filament
Tools
- • Soldering iron, solder and flux
- • 3D Printer
- • Multimeter
- • Adhesive
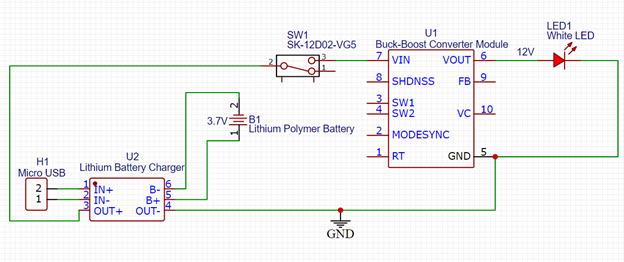
Circuit Schematic
Breadboard Testing and Design
The circuit presents inefficiencies that will be addressed in the improvements section. The lithium-polymer battery (salvaged from a power bank) delivers 3.7V and 2000mAh, insufficient to directly power the LED which requires 12V. The implemented solution was a Buck-Boost Converter module to step up the voltage. Although not the most efficient option, it fulfilled the purpose with available components, providing sufficient current for the light source. A switch was added for on/off control.
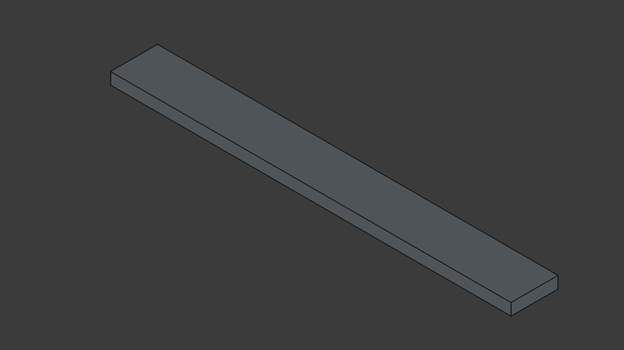
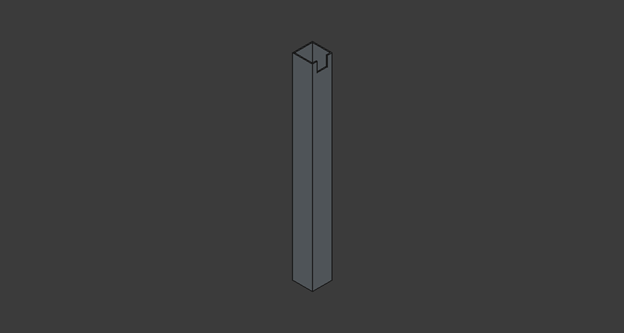
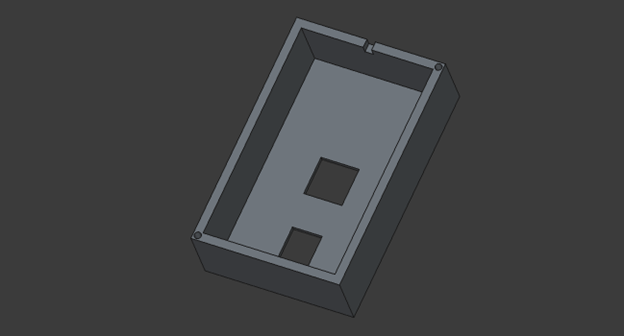
3D Enclosure Design
Due to print volume limitations (220mmX220mm), 4 separate pieces were designed, optimized for printing without supports.

Find the 3MF files here in Printables: Download here
Assembly and Testing
Assembly sequence:
- Print top section and immediately adhere LED strip
- Print body, assemble with adhesive to top section, routing LED cable through the interior toward the base
- Print base and install switch using press-fit hatch mechanism (no adhesive required)
- Adhere base and body for structural rigidity
- Solder components without PCB (modular circuit)
- Print and place cover to close the base
Improvements and Recommendations
Suggested improvements for future iterations:
- • Print material: Use PLA or PETG instead of ABS. Without an enclosure, ABS is problematic due to warping caused by air currents and ambient temperature loss.
- • Power system: Replace the current configuration (3.7V battery + Buck-Boost Converter) with a direct 12V lithium-ion battery. This would eliminate an unnecessary component that generates efficiency losses and electrical noise. Alternatively, use 12V alkaline batteries, considering their periodic replacement.
This project demonstrates how to leverage available components to create functional solutions, balancing practical limitations with engineering principles.
Find the instructables guide here